Through the last year I have been learning OpenGL and Shader programming with GLSL. I started learning the basics of OpenGL, how to render objects, how to place them in the scene; and also the basics of shader programming, how the pipeline works and how to render basic effects like directional or ambient lightning.
After months learning OpenGL and GLSL I have developed this example project called Hero Demo it is a night scene, with particles effect, SkyBoxing, per-fragment point lightning, water rendering
Let’s take a closer look at the implementation and all the effects added to the scene
Scene
The main idea was to develop a night scene, so the lightning effects would be noticeable. So I created an island terrain using a PNG heightmap. I used one heightmap I have downloaded from the internet as a template and edited it using Photoshop.
The heightmap for the terrain:
Terrain Heightmap
To that terrain I added, a Cabin, Pier, Bushes, Lamps and a firepit model. Most of them were downloaded free of charge from TurboSquid a 3D model database that I highly recommend. All of them were properly textured before place them in the scene.
The models used for the scene were:
Lamp
Pier
Bush
Firepit
Cabin
Shaders
For this scene the approach selected was using multiple GLSL shaders so it would be easier to implement each one of the effects.
The shaders used were the following:
Basic Shader
Used for the effects applied only to the models rendered in the scene. Here I have implemented the fog effect and the per-fragment point lightning for the objects. It also contains directional and ambient lightning effects. Here you can see a Snippet about how the Ambient, Directional and Per-Fragment Point Lightning was implemented.
In this shader, all the things related with terrain texturing, and lightning was implemented. In this case the texturing for the terrain is a little bit special, because it is textured with one texture or another depending if the program is rendering the part of the terrain above or bellow the water, this technique is called Shoreline multitexturing.
Here, I implemented all the things related with the water rendering effects. The wave animation of the water is down through the vertex shader. Also, the water is textured with a mixture of a water texture and the skybox colour so the water never have a completely different colour than the skybox.
I have implemented two different shaders for particle effects, but they are pretty much the same shader with the exception of some parameter so I would only show here the one related with the rain effect.
Particles
vertex
1
2
3
4
5
6
7
8
9
10
11
12
void main()
{
	float t = mod(time - aStartTime, particleLifetime);
	vec3 pos = aInitialPos + aVelocity * t + gravity * t * t;
	age = t / particleLifetime;

	// calculate position (normal calculation not applicable here)
	position = matrixModelView * vec4(pos, 1.0);
	gl_Position = matrixProjection * position;

	gl_PointSize = scaleFactor * clamp(10 / length(position), 1, 5);
}
What this line does is resize the particle depending on the distance of it with the camera. So if we are closer it will look bigger and if we are further it will look smaller.
Summary
Here is a Screenshot of the outcome of the project:
Hero Demo
The whole project is available in GitHub, so don’t hesitate to fork the project and modify the code as you like.

 Terrain Heightmap
 Lamp
Lamp Pier
Pier Bush
Bush Firepit
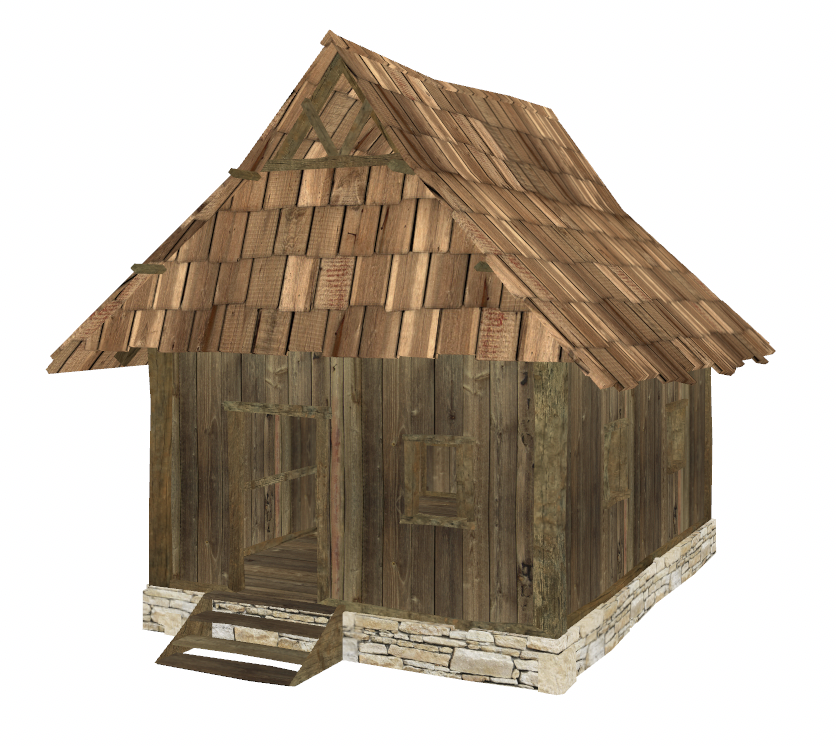 Cabin
Cabin Hero Demo